

Unityのプロジェクトを新しく作成するたびに、なにをやるんだっけな…となってしまうのでまとめようと思います。
私的メモですので、もっとやりやすい方法等がありましたら教えていただけますとありがたいです。
また、良い方法を見つけたらちょくちょく更新していくかもしれません。
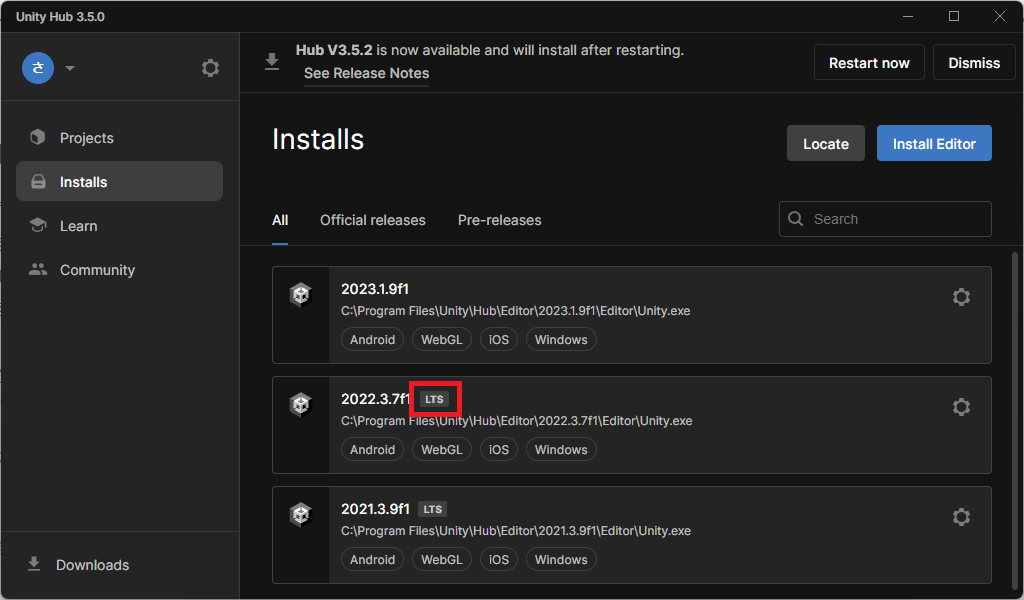
Unityのバージョンの決定
UnityのバージョンはLTSの最新版とします。
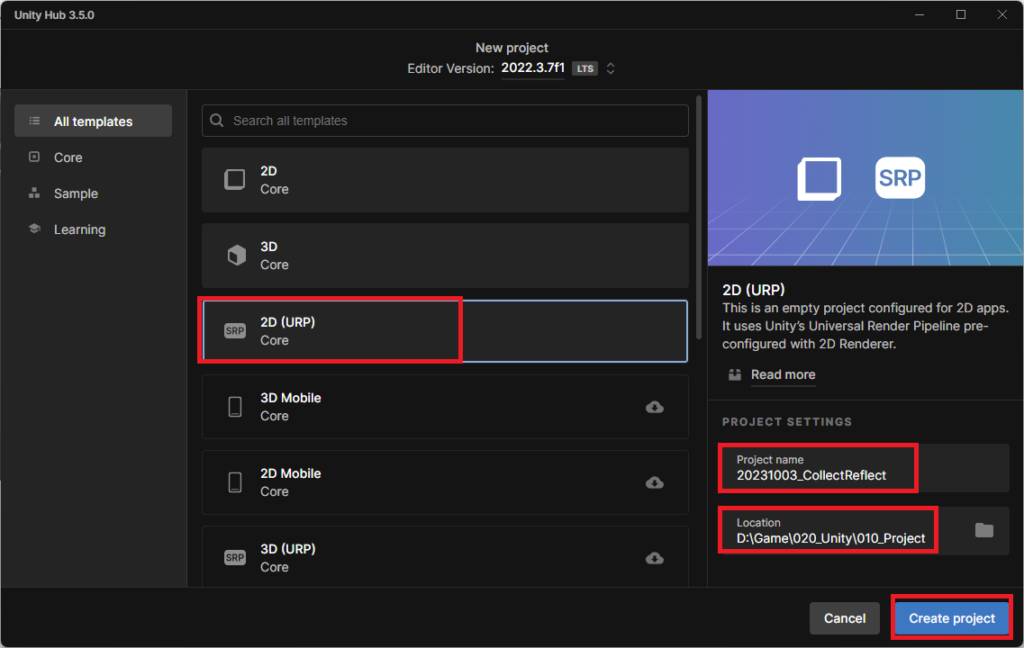
新規プロジェクトの作成
All templates:2D(URP)
Project name:YYYYMMDD_ゲーム名
Location:D:\Game\020_Unity\010_Project
を設定しCreate projectをクリック
Project nameはフォルダで見たときにぐちゃぐちゃになるのが嫌なのでYYMMDDを先頭につけています。
Unityプロジェクト内のディレクトリ作成
ディレクトリ構成はこれらの記事を参考にしています。


ディレクトリ作成で僕が使用しているスクリプトを下記に登録しておきました。
Windowsの場合
次のバッチファイルを実行
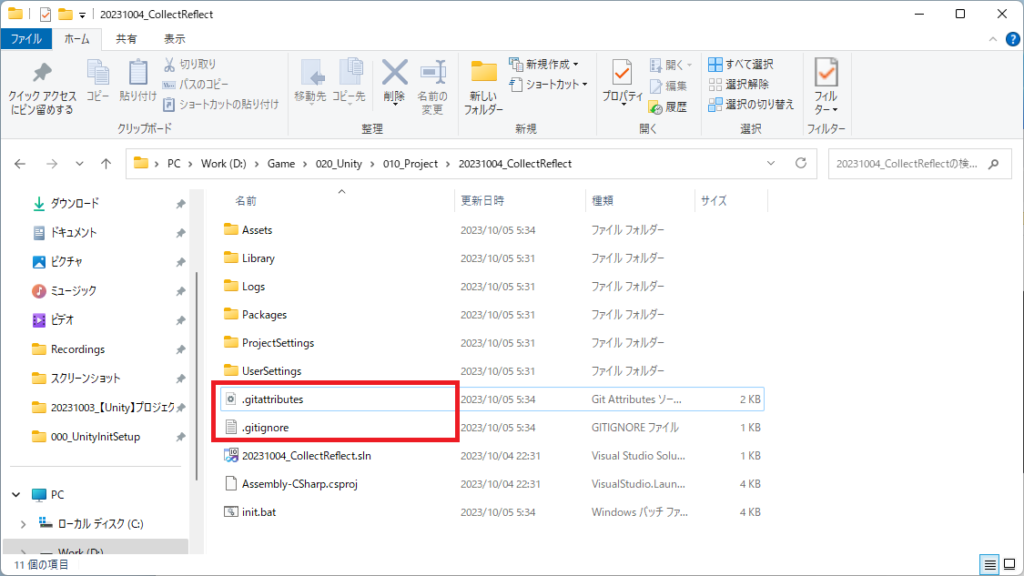
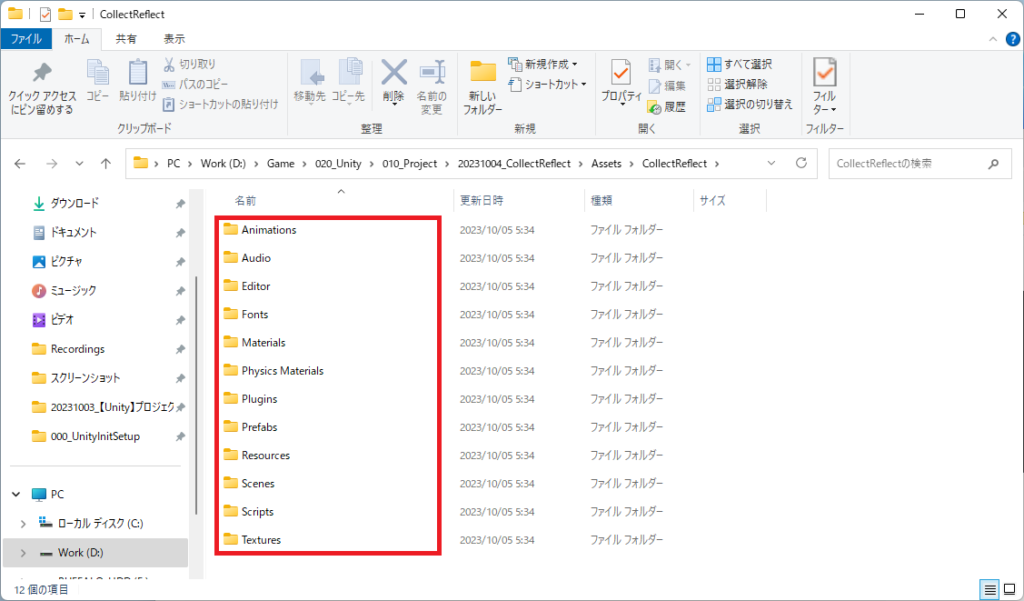
このバッチファイルを実行するとUnityプロジェクト内にディレクトリ(Assets/[任意のプロジェクト名]/[任意のディレクトリ])と.gitignore、.gitattributesファイルを作成します。
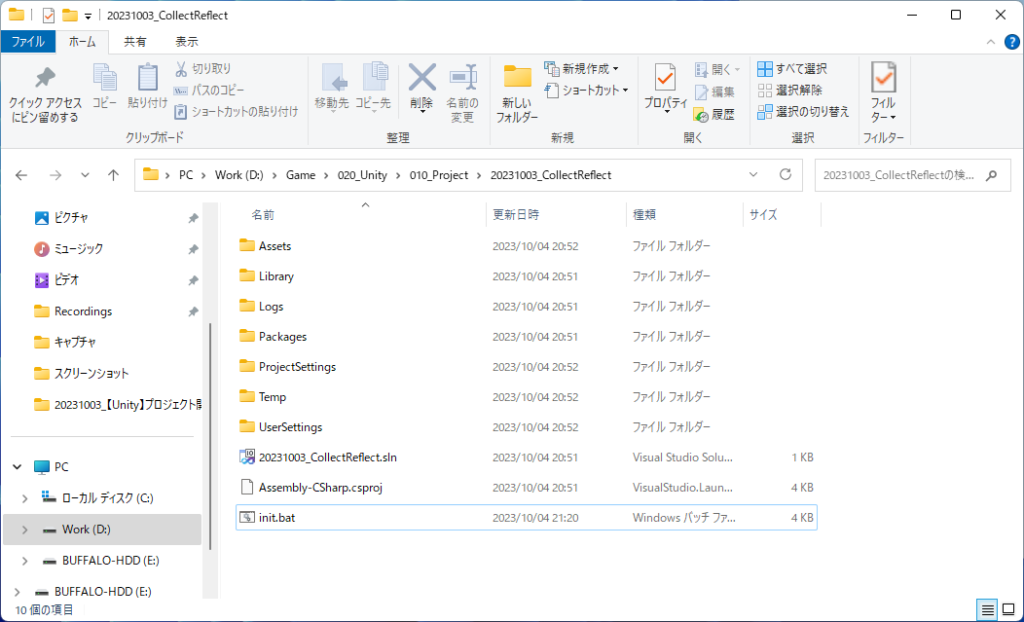
・init.bat
プロジェクトフォルダ内に[init.bat]を格納
[init.bat]をダブルクリックで実行
プロジェクト名を入力
入力後Enterキーを押して実行
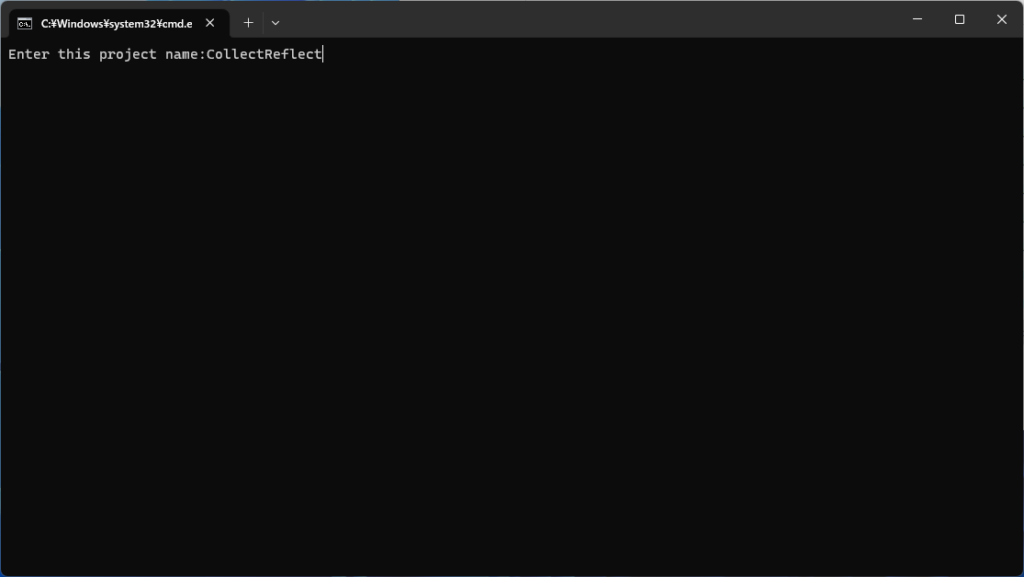
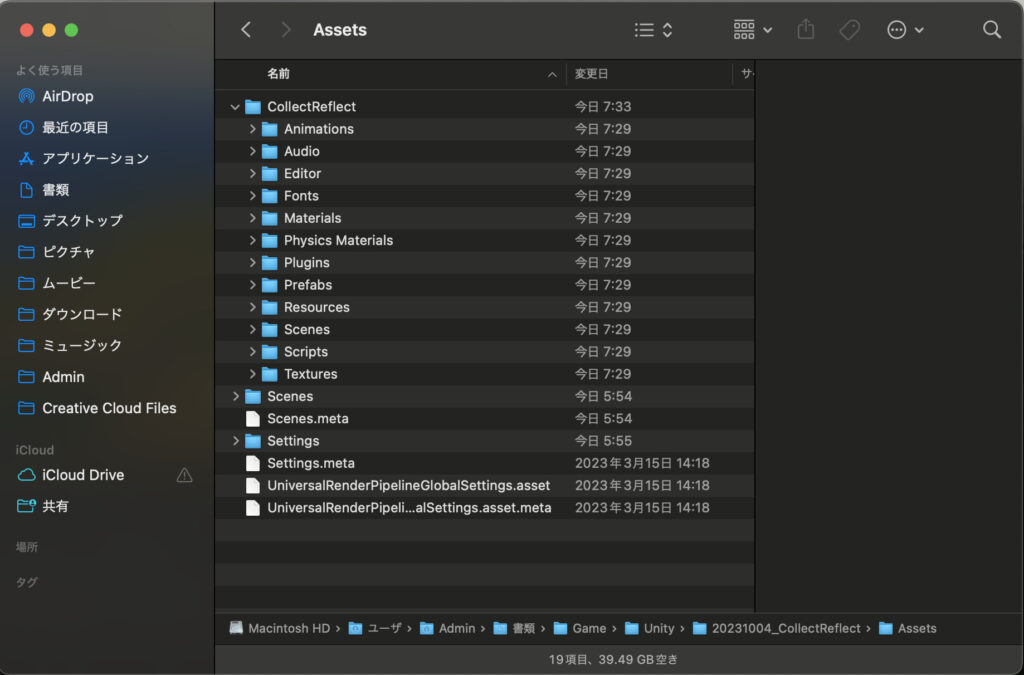
.gitignore、.gitattributesファイルとディレクトリが作成されていることを確認します。
Macの場合
次のshファイルを実行
このshファイルを実行するとUnityプロジェクト内にディレクトリ(Assets/[任意のプロジェクト名]/[任意のディレクトリ])と.gitignore、.gitattributesファイルを作成します。
プロジェクトフォルダ内に[init.bat]を格納
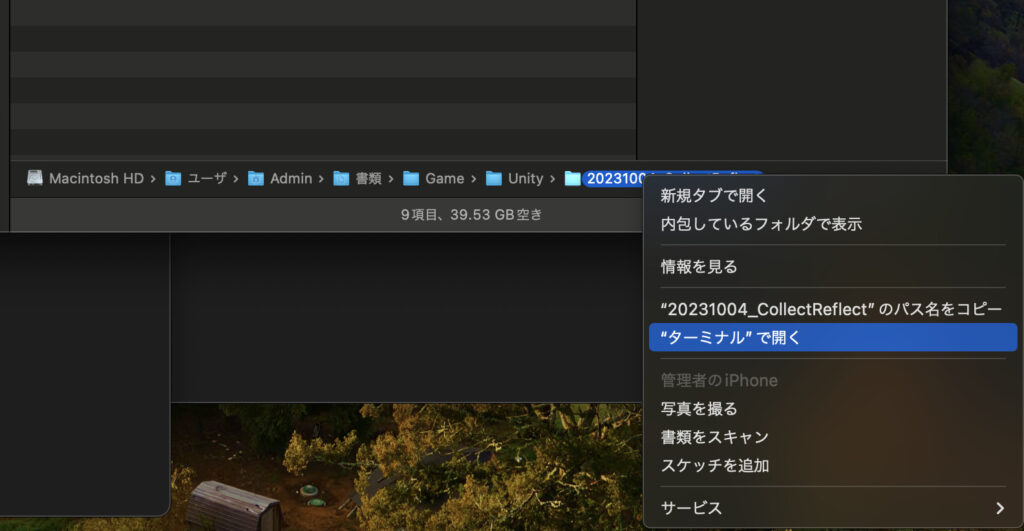
プロジェクトフォルダ内に移動
Finder下部の現在のフォルダ名の部分を右クリックし、ターミナルで開くを選択
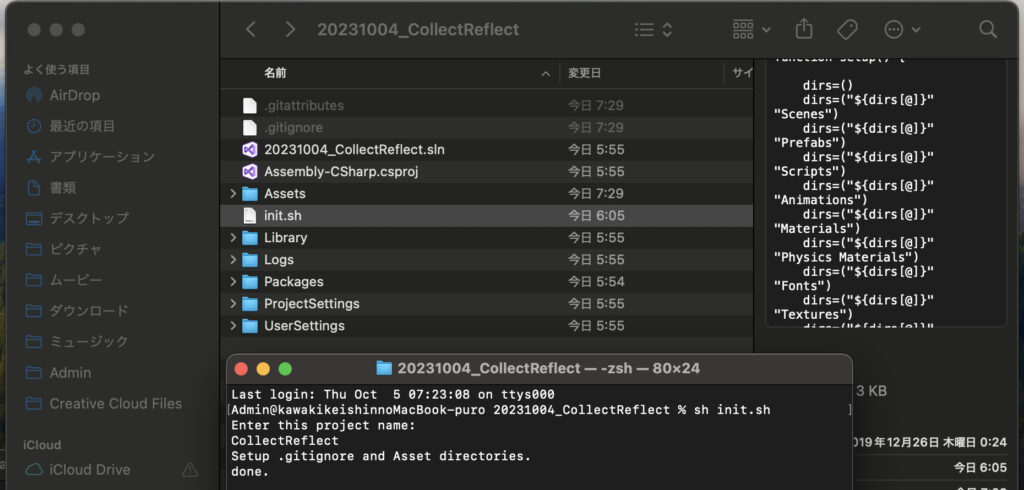
[sh init.sh]をターミナルに入力しEnterキーを押して実行
プロジェクト名を入力
入力後再びEnterキーを押して実行

.gitignore、.gitattributesファイルとディレクトリが作成されていることを確認します。
※.gitignore、.gitattributesファイルは隠しファイルのため[Command + shift + .]を押して表示する
Githubへの登録
作成したプロジェクトをGithubに登録します。
Github上にリポジトリを作成してPushする流れです。
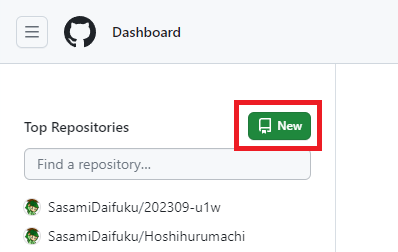
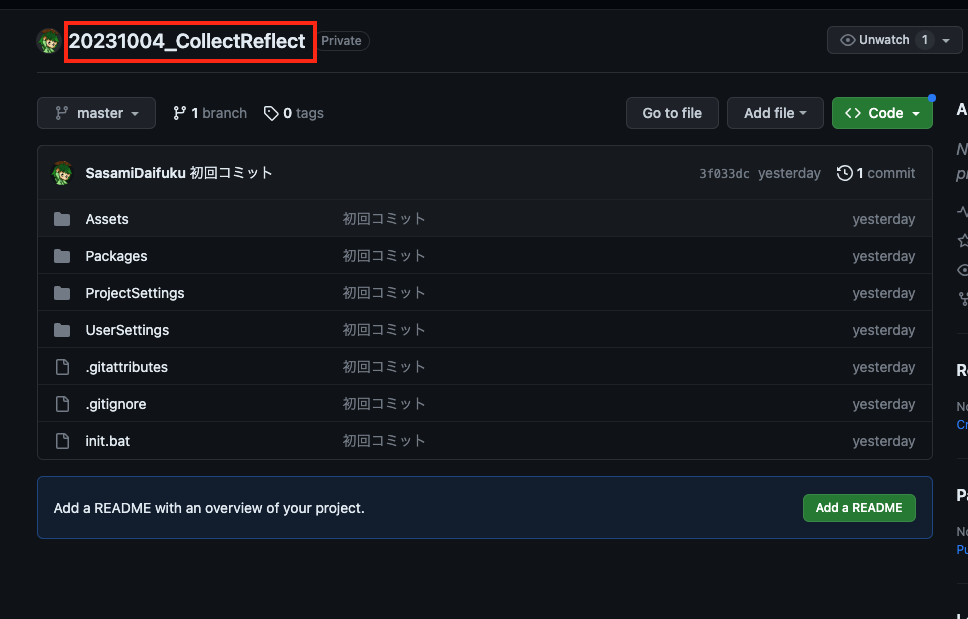
Github上にリポジトリ作成
Top Repositoriesから[New]をクリック
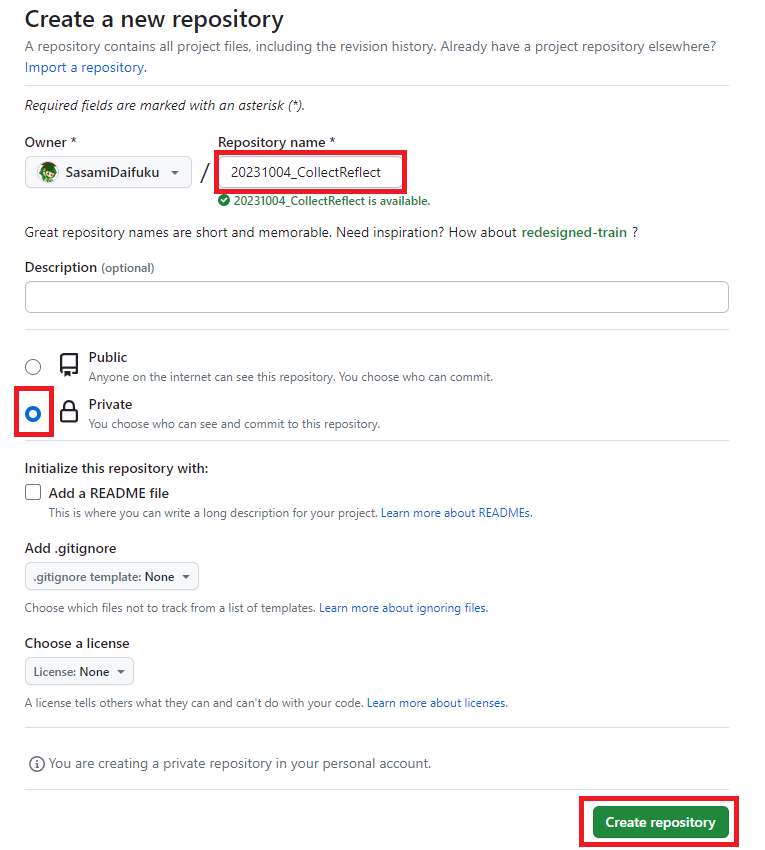
Repository name:[作成したプロジェクト名] ※今回は20231004_CollectReflect
Privateを選択
Create repositoryをクリック
以上でリポジトリの作成は完了です。
引き続き、作成したリポジトリにプロジェクトをPushします。
作成したリポジトリへPushする(GitForkを使用)
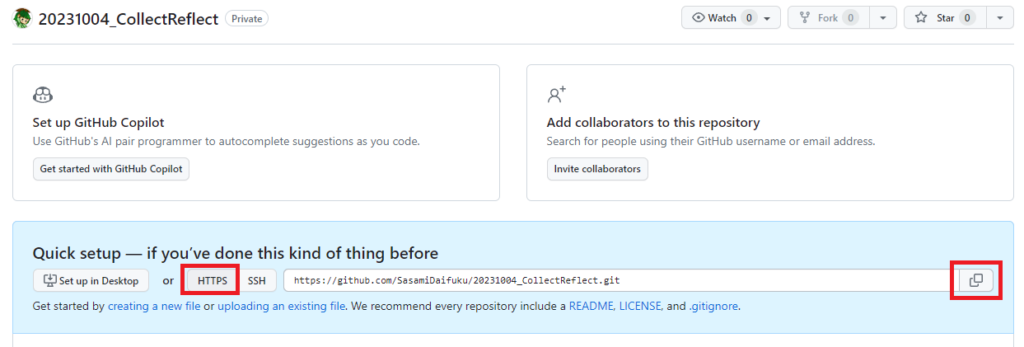
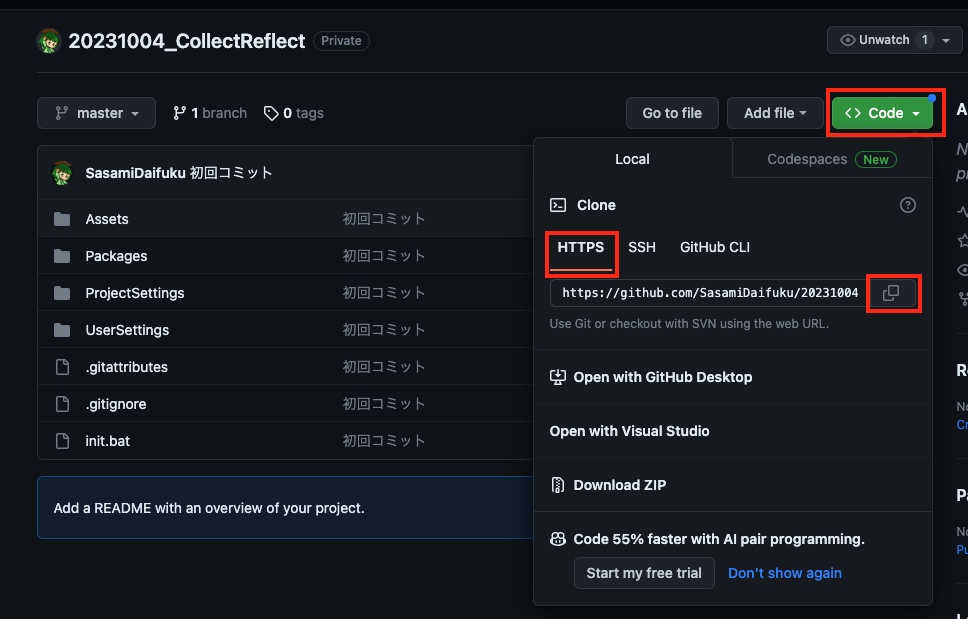
リポジトリ作成時点で下記のようながページが表示されているはずです。
[HTTPS]を選択し、コピーします。
自身のデスクトップでGitForkを立ち上げる
[File]>[Init New Repository]を選択
※Macの場合は[File]>[Create New Local Repository…]を選択

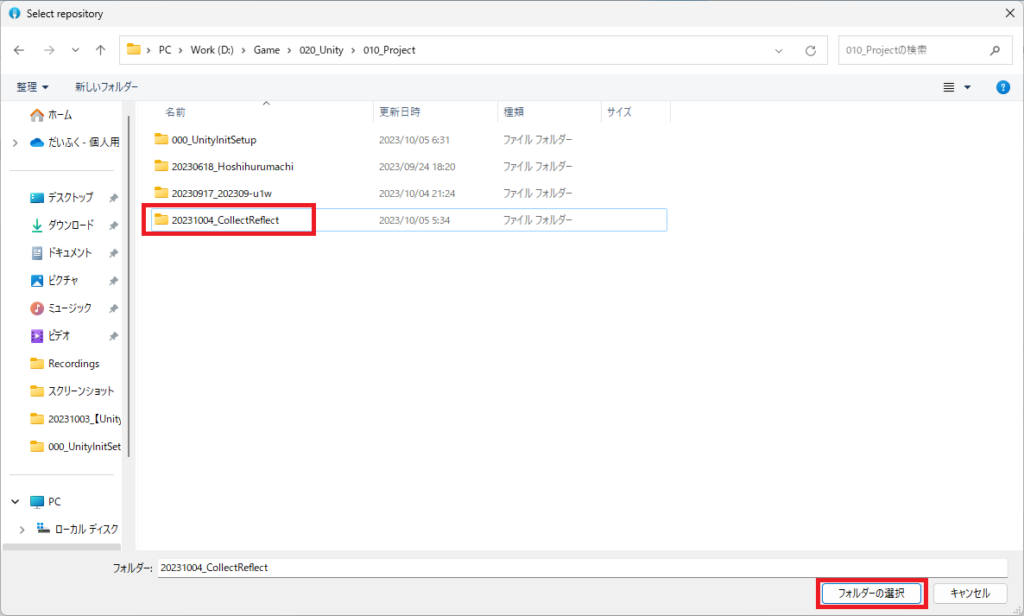
[作成したプロジェクト]を選択 ※今回は20231004_CollectReflect
[フォルダーの選択]をクリック
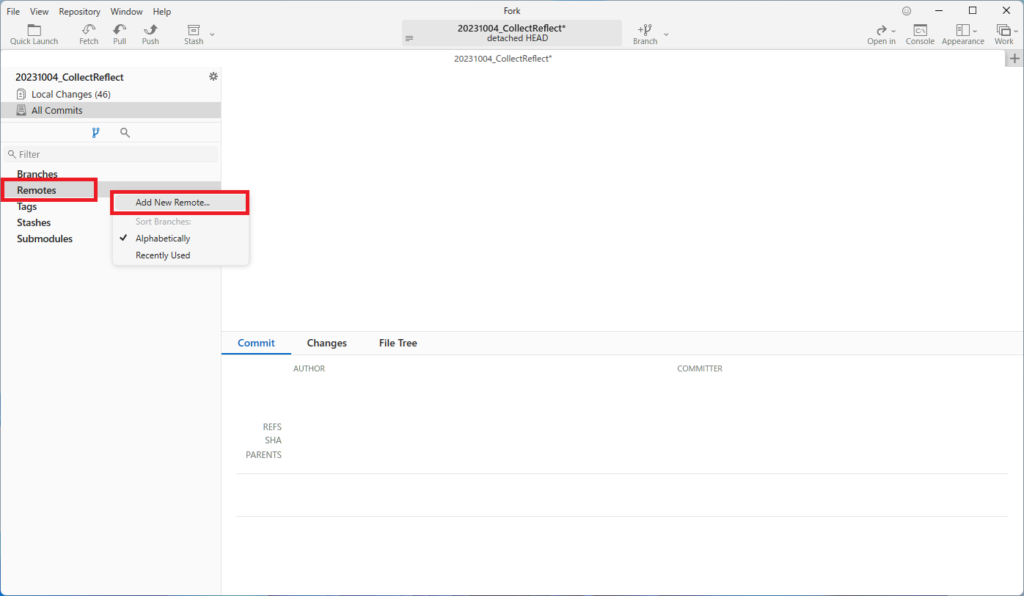
[Remotes]を右クリック
[Add New Remote…]をクリック
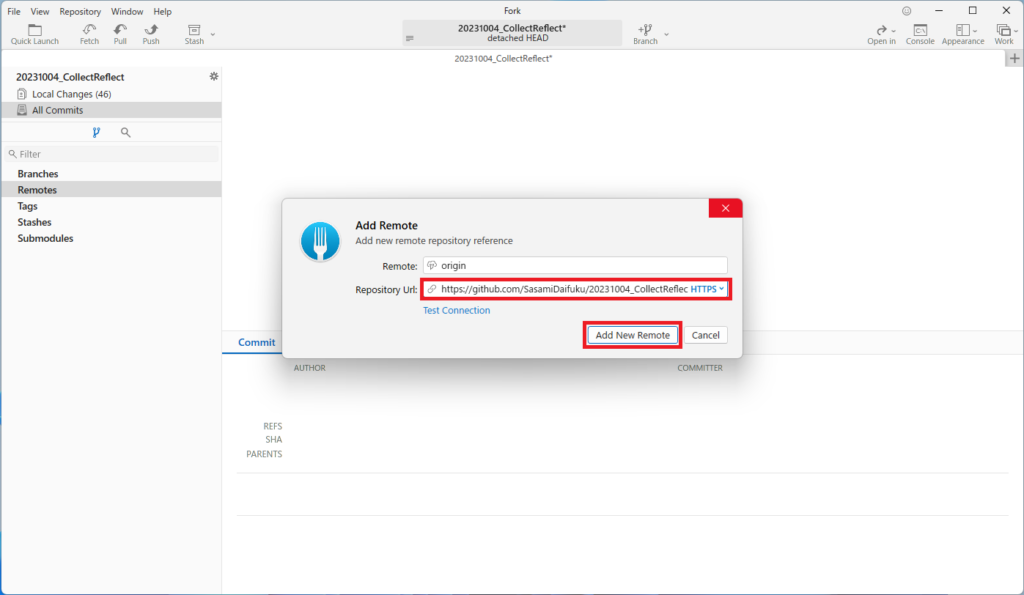
Githubで先ほどコピーしたHTTPSをRepository Urlに貼り付け
[Add New Remote]をクリック
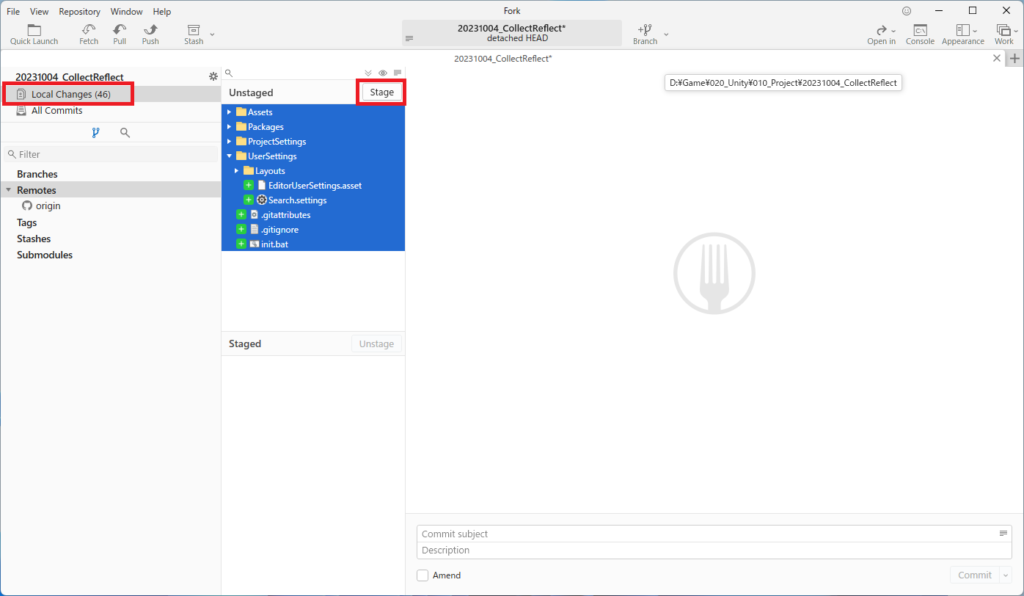
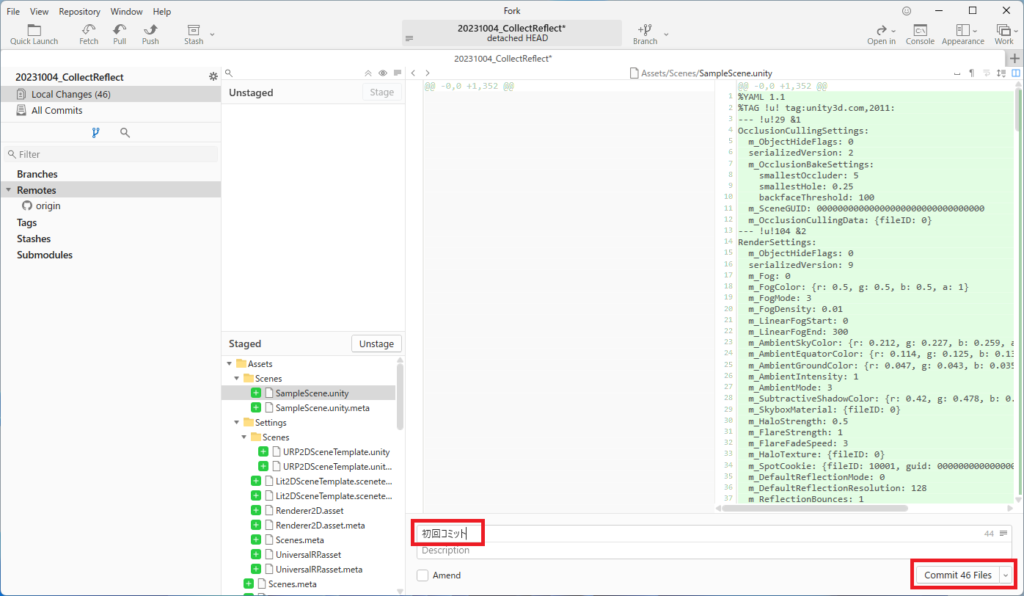
Local Changesに移動して登録したい内容をStagedに移動する
[Local Changes]を選択
Unstagedの中から登録したいものを選択し[Stage]をクリック
※初回はすべてStagedに移動する
Commit subject:[コミット内容] ※今回は初回コミットと記載
を記述し[Commit ** Files]をクリック
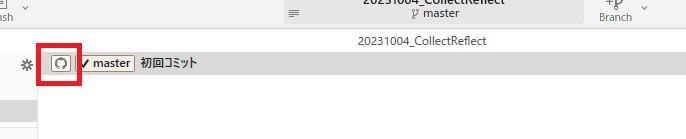
All Commitsに移動してPushする
[All Commits]をクリック
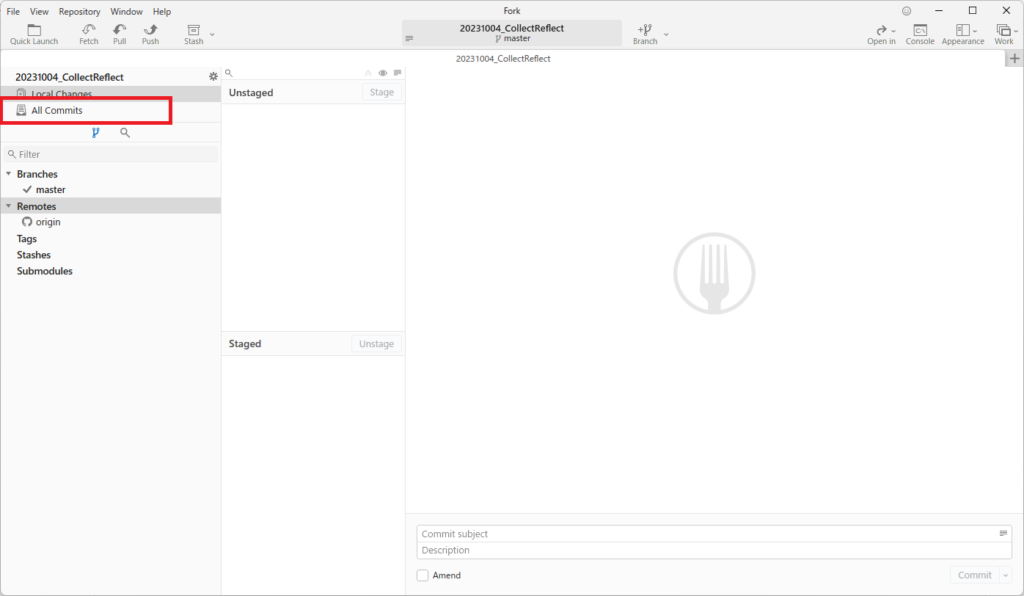
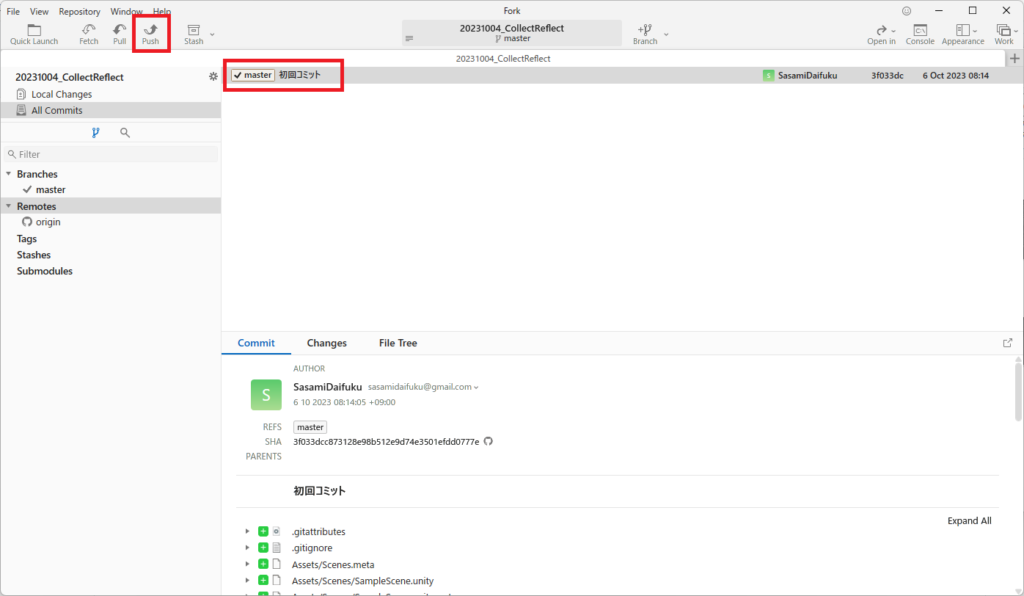
先ほどCommitした初回コミットがあることを確認し、
[Push]をクリック
ポップアップが表示されるので[Push]をクリック
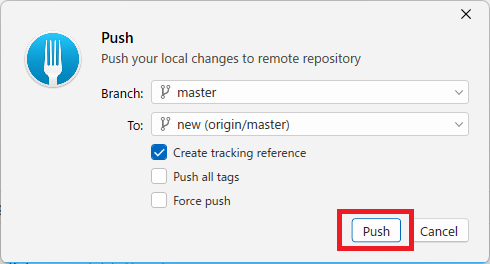
Githubのマークがついたことを確認して完了
Githubからのクローン(GitForkを使用)
WindowsとMacの2台を使っているので、片方で登録したものをもう片方でクローンします。
GithubでHTTPSをコピーしてGitForkでクローンするという手順です。
クローンを行うPCでGithubのリポジトリを開く
[Code]をクリック
HTTPSのURLをコピー
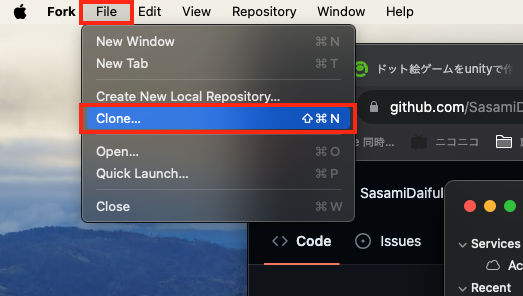
GitForkを立ち上げる
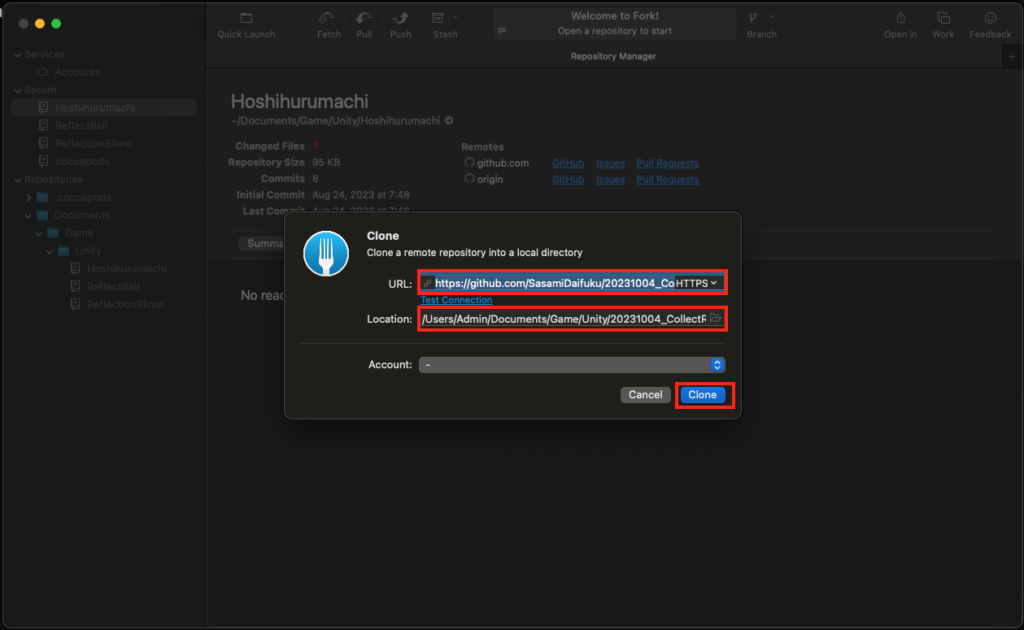
[File]>[Clone…]を選択する
URL:先ほどコピーしたHTTPSのURLを貼り付け
Location:Cloneする先を指定
[Clone]をクリック
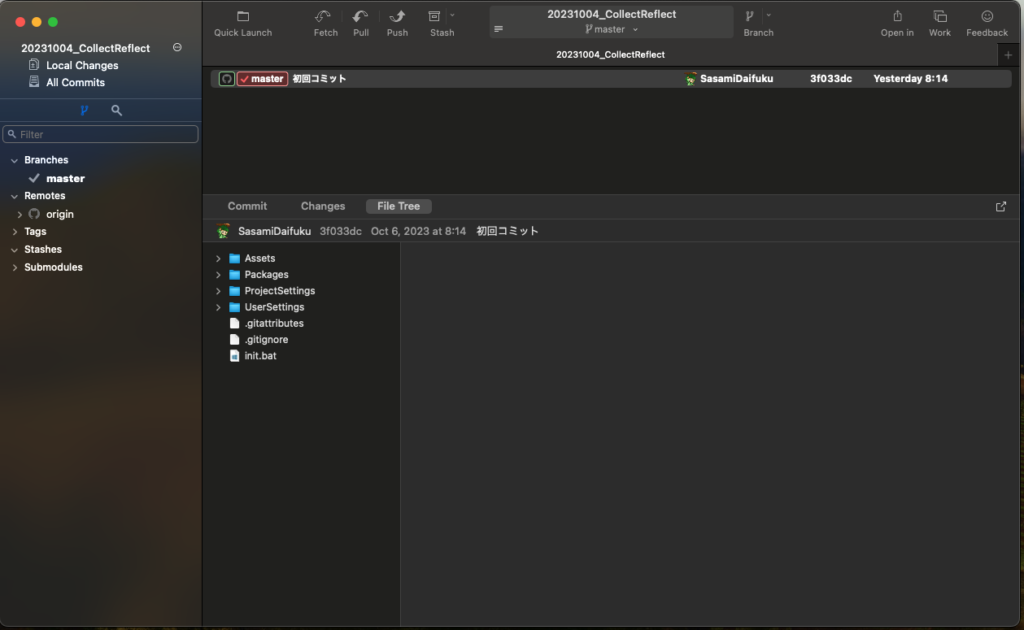
Cloneが完了することを確認する
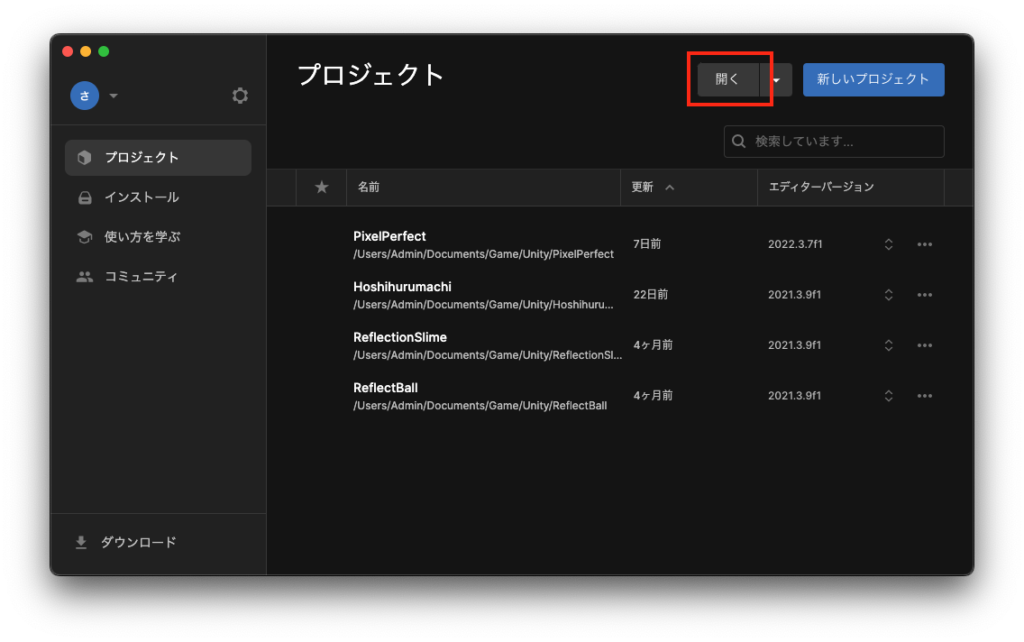
最後にCloneしたUnityのプロジェクトをUnityHubから開けるように設定する
UnityHubを開き、[開く]をクリック
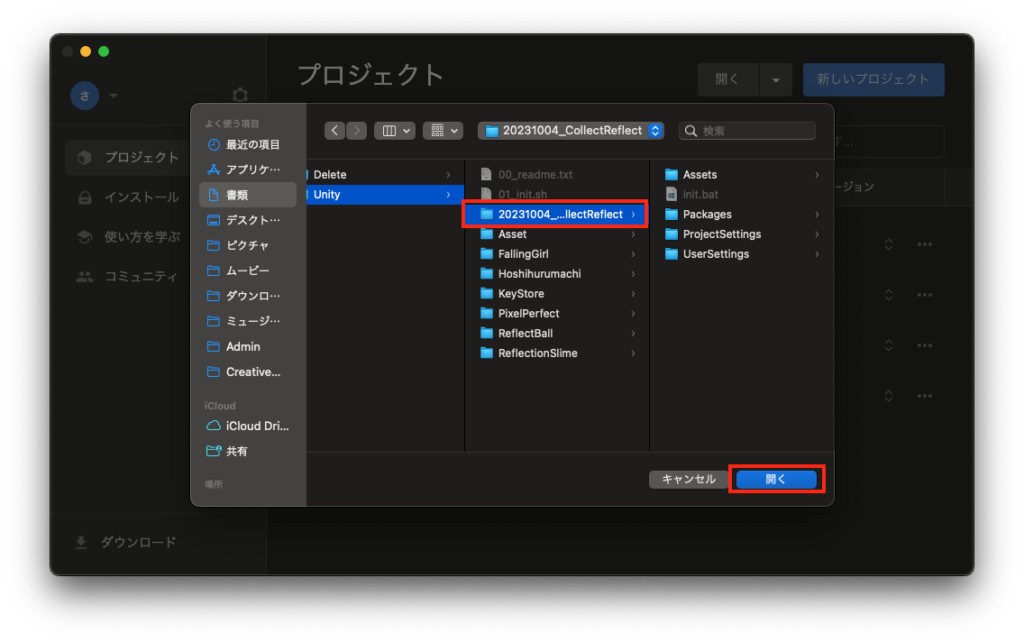
Cloneしたプロジェクトを選択
[開く]をクリック
Unityのプロジェクトが開くことを確認して完了です。
Unityでの初期設定
コピー時の連番の表記を変更する
Unity内で色々コピーすると自動で連番を振ってくれますが、デフォルトでは(1),(2)というように連番が増えていきます。
なのでこれを、_1,_2という表記に変更します。
Unityを開き、[Edit]>[Project Settings]を開く
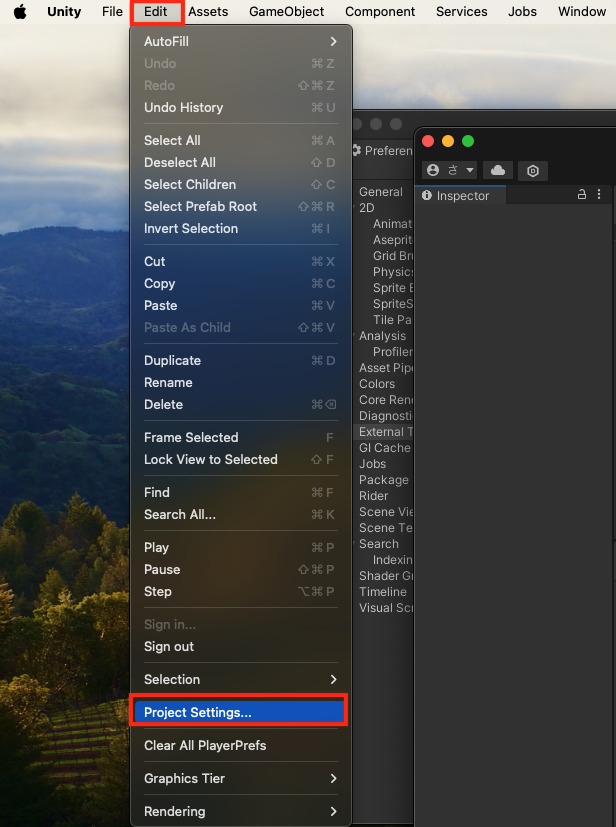
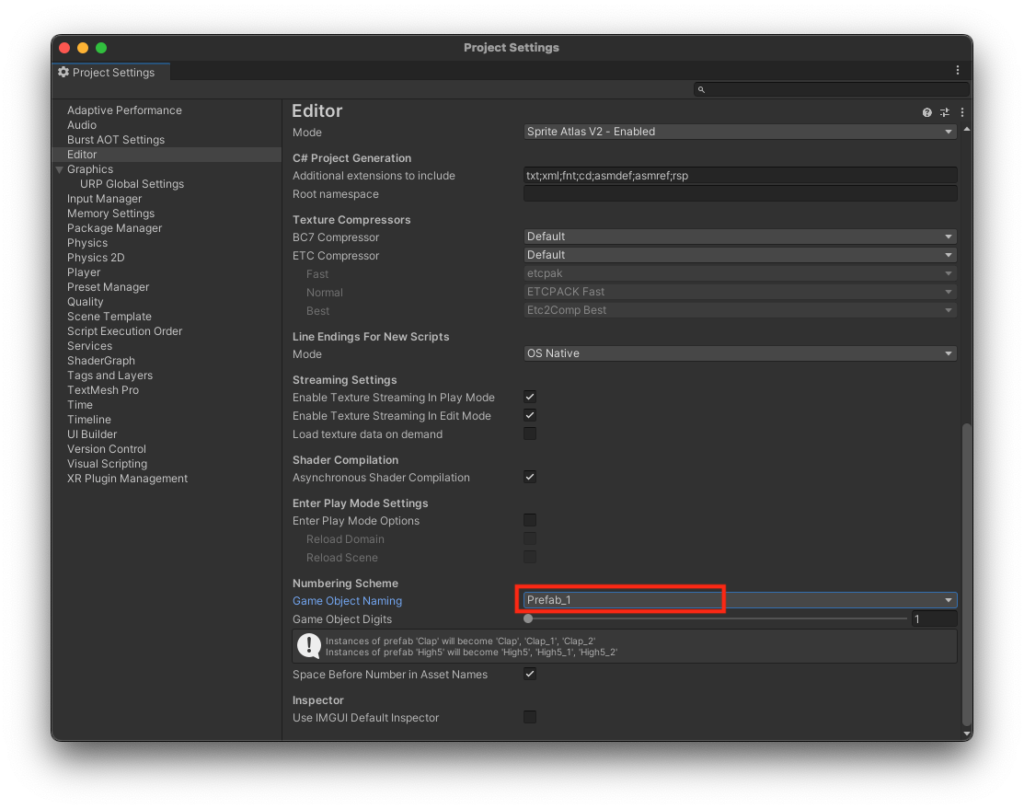
[Editor]を選択
Game Object Namingを[Prefab_1]に変更
終わりに
以上、私的なUnityの設定まとめでした。
Unityでの初期設定の部分は2Dプロジェクトを作成するとき用のものをまとめたい。

コメント