
前回までのパートでGoogle Cloud SDKの設定を行い、自分でサンプルのWebhookを作成し、表示させることができました。
このパートではWeather APIの設定をしていきます。
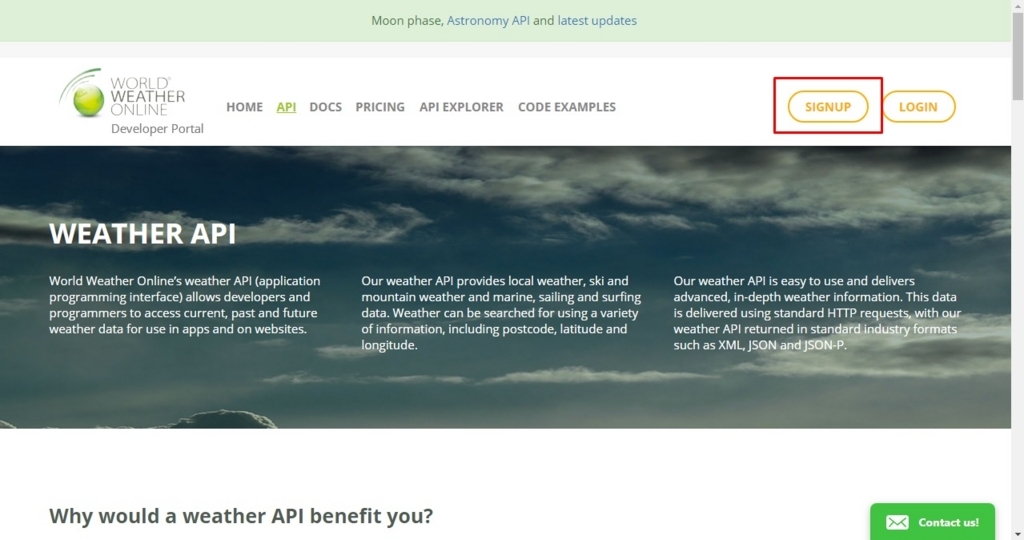
1.World Weather OnlineからAPIキーを取得する。
・以下のサイトに移動します。
developer.worldweatheronline.com
・SIGN UPをクリックします。[画面1]
・下にあるフォームを入力しSIGN UPをクリック[画面2]
・メールを送信しましたと出てくるのでメールを確認[画面3]
・メールに記載されたアドレスをクリック[画面4]
・LOGINします
・LOGIN後Dashboardが開きます。今回使うのはKeyの部分です。[画面5]


2.APIを使えるようにコードを変更
先程テストで作った「index.js」を書き換え天気予報APIが使えるように変更します。
・index.jsを以下の内容に書き換えます[画面6]
// Copyright 2017, Google, Inc.
// Licensed under the Apache License, Version 2.0 (the 'License');
// you may not use this file except in compliance with the License.
// You may obtain a copy of the License at
//
//    http://www.apache.org/licenses/LICENSE-2.0
//
// Unless required by applicable law or agreed to in writing, software
// distributed under the License is distributed on an 'AS IS' BASIS,
// WITHOUT WARRANTIES OR CONDITIONS OF ANY KIND, either express or implied.
// See the License for the specific language governing permissions and
// limitations under the License.
'use strict';
const http = require('http');
const host = 'api.worldweatheronline.com';
const wwoApiKey = 'WorldWeatherOnlineで取得したKey';
exports.my_weather = (req, res) => {
// Get the city and date from the request
let city = req.body.queryResult.parameters['geo-city']; // city is a required param
// Get the date for the weather forecast (if present)
let date = '';
if (req.body.queryResult.parameters['date']) {
date = req.body.queryResult.parameters['date'];
console.log('Date: ' + date);
}
// Call the weather API
callWeatherApi(city, date).then((output) => {
res.json({ 'fulfillmentText': output }); // Return the results of the weather API to Dialogflow
}).catch(() => {
res.json({ 'fulfillmentText': `I don't know the weather but I hope it's good!` });
});
};
function callWeatherApi (city, date) {
return new Promise((resolve, reject) => {
// Create the path for the HTTP request to get the weather
let path = '/premium/v1/weather.ashx?format=json&num_of_days=1' +
'&q=' + encodeURIComponent(city) + '&key=' + wwoApiKey + '&date=' + date;
console.log('API Request: ' + host + path);
// Make the HTTP request to get the weather
http.get({host: host, path: path}, (res) => {
let body = ''; // var to store the response chunks
res.on('data', (d) => { body += d; }); // store each response chunk
res.on('end', () => {
// After all the data has been received parse the JSON for desired data
let response = JSON.parse(body);
let forecast = response['data']['weather'][0];
let location = response['data']['request'][0];
let conditions = response['data']['current_condition'][0];
let currentConditions = conditions['weatherDesc'][0]['value'];
// Create response
let output = `Current conditions in the ${location['type']}
${location['query']} are ${currentConditions} with a projected high of
${forecast['maxtempC']}°C or ${forecast['maxtempF']}°F and a low of
${forecast['mintempC']}°C or ${forecast['mintempF']}°F on
${forecast['date']}.`;
// Resolve the promise with the output text
console.log(output);
resolve(output);
});
res.on('error', (error) => {
console.log(`Error calling the weather API: ${error}`)
reject();
});
});
});
}

3.Deployする。
index.jsを変更したのでもう一度Deployします。
・Google Cloud SDK Shellを立ち上げindex.jsがあるフォルダまで移動する。[画面7]
・コンソールに以下を入力する。 [BUCKET_NAME] は先ほど使用したモノを使う。[画面8]
gcloud beta functions deploy my_weather –stage-bucket [BUCKET_NAME] –trigger-http
・出力されたurlをコピー[画面9]
・DialogflowのFulfillmentを開き貼り付け[画面10]
・SAVEします


4.特定のデータが与えられなかったとき質問をするようにする
最後です
・Intent→Weather→Action and parametersのgeo-cityのREQUIREDにチェックを入れます。[画面11]
・ Define prompts をクリックします。[画面12]
・PROMPTSにFor what city would you like the weather?を入力します[画面13]
・Closeを押しダイアログを閉じSAVEします。


5.Contextの追加
・Intent→weather→Contextをクリックします。[画面14][画面15]
・Add Output Contextに「location」と入力しEnterを押します[画面16]
・SAVEボタンをクリックします。


6.Contextのために新しいIntentを作成する。
追加の質問を処理するインテントを作成します。
・左の欄のIntentsの横の+を押して新規のインテントを作成します。[画面17]
・Intentの名前を「weather.context」とします。[画面18]
・ContextsのAdd input contextsとAdd output contextsの両方に「location」を入力します。[画面19]
・ Training Phraseに「What about next week」「What about tomorrow」を入力しEnter。[画面20]
・Action and parametersに以下を入力します[画面21]
Parameter Name: geo-city
Entity: empty
Value: #location.geo-city
・Response に「Sorry I don’t know the weather for $date-period in #location.geo-city」を入力します[画面22]
・一番下にあるFulfillmentのEnable webhook call for this intentをクリックして有効にします[画面23]
・SAVEします。


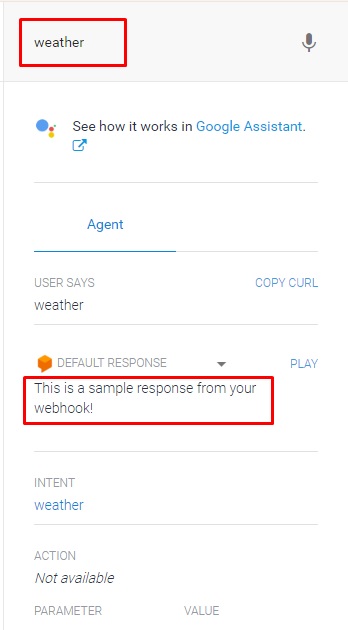
.Tryしてみる
・Try it outに「weather」と入力します。
・DEFAULT RESPONSEにFor what city would you like the weather?と表示されることを確認します[画面24]
・そのまま続けて、Try it outに「new york」と入力しEnter[画面25]
・new yorkの温度が帰ってきたら成功です。(℃とかが文字化けしてるのはよくわからないです)[画面26]


うまくいかないとき・・・。
最初うまくいかなかったのですが、もう一度index.jsをDeployしたら、動くようになりました。
期間が空くとダメ?
以上でチャットボット作成のチュートリアル終了です。
ありがとうございました。

コメント